How to make pav for pav bhaji
Authentic Pav Bhaji is incomplete without soft and fluffy pav. When I first tasted Pav Bhaji on the streets of Mumbai, I thought pav is a bread roll which is just used to scoop up bhaji. I was wrong! Pav is an integral part of Pav Bhaji, where all the spicy, tangy, and buttery flavors are soaked into the pav. Pav should be soft and fluffy with a hint of sweetness and a tender crust that crisps a bit when buttered and toasted. Pav is meant to be a carrier for the bhaji and enhances the taste of bhaji. When you prepare Pav Bhaji at home, the pav also needs to be homemade for a restaurant-style experience.
Making pav at home is easier than you think and you control the freshness, texture, and taste of the pav rolls. Here, I am sharing tips and tricks to make perfect pav that can be used to make Pav Bhaji or even for other dishes such as sandwiches. I will take you through different aspects of making soft pav, starting from ingredients to shaping, proofing, baking, and toasting pav. So, let us get started on making soft and fluffy pav that you would love to have with bhaji.
Role of Pav in Pav Bhaji
Bhaji is the star of Pav Bhaji, but pav is equally important. The pav balances the bhaji with its subtle sweetness and its soft texture allows you to load it with bhaji and all those buttery, tangy, and spicy flavors. Pav should be soft, pillowy, and buttery with a slightly sweet flavor and a crust that crisps when toasted in butter. The pav should be airy enough to soak in bhaji without falling apart.

Choosing the Right Flour
The first step in making soft pav is to choose the right flour. For pav, you need a strong flour such as refined all-purpose flour or maida. Whole wheat flour can be used but not more than ¼ part of the total flour as whole wheat flour makes bread dense. The flour used for making pav should be finely milled and fresh so that gluten develops uniformly in the flour and results in a soft texture of the pav. It is always recommended to sift the flour to avoid lumps and for a smooth and elastic dough.
Yeast
The yeast used for making pav is an important ingredient as yeast makes the pav soft and fluffy. Use active dry yeast or instant yeast and mix it in lukewarm water along with a pinch of sugar. Allow it to bloom for 10–15 minutes or until frothy. Blooming of yeast in water is an important step to check if the yeast is active or not. The yeast will ferment the dough and produce carbon dioxide which is responsible for soft and airy texture of pav. Make sure to use fresh yeast and do not use hot water as hot water will kill the yeast and cold water will retard the yeast.
Adding Sugar, Salt, and Fat
Sugar, salt, and fat play an important role in pav as they add flavor, make the pav tender, and assist in browning of pav. Sugar makes pav mildly sweet which balances the spices in bhaji. Sugar also feeds the yeast during fermentation. Salt adds flavor to pav and regulates the yeast activity. Fat is added to make the crumb tender and adds richness to the bread. It also helps in browning of the pav. Butter and oil are commonly used fats in making pav.
Kneading the Dough
Kneading is an important step in making pav as it develops the gluten which gives structure and chewiness to the bread. Knead the dough made using the above ingredients for 8–10 minutes or until the dough is smooth, elastic, and slightly sticky. Kneading the dough helps in even fermentation of the dough and results in soft and uniform texture in the pav. Kneading less will result in under-kneaded dough that will yield heavy and dense pav. Over-kneading of pav dough is rare as the dough is not kneaded for a long time. For soft and pillowy pav, it is recommended to knead the dough well.
First Proofing (Fermentation)
Cover the kneaded dough with a damp cloth or plastic wrap and let the dough proof in a warm place for 1–2 hours or until the dough doubles in size. The first proofing process is also known as fermentation and during this process, the yeast ferments the dough and produces gas bubbles that lighten the dough. Temperature is an important factor during proofing process and dough should be proofed in a warm, draft-free place for even rising. After the first proofing, the dough should be airy, soft, and should be easy to shape.
Shaping the Pav
Once the dough has doubled in size, gently punch the dough to release the excess gas and divide the dough into equal portions. Roll each portion into a smooth, round ball, ensuring no cracks are present on the surface of the dough balls. The smooth surface of the dough balls is necessary as cracks will result in uneven baking and tough crusts. Place the dough balls on the greased baking tray leaving a little space between the dough balls for expansion. Make sure all the pav shaped are uniform in size for uniform texture and baking. Uniform shaped pav are also visually appealing.
Second Proofing
Allow the shaped dough balls to rest for another 30–45 minutes. This resting time is called as second proofing and it allows the dough to relax and rise slightly before baking. This second proofing helps in soft and airy texture of the pav. Cover the baking tray with a clean cloth so that the dough balls do not dry out. Skipping the second proofing or reducing the second proofing time will result in less fluffy pav. Second proofing is a subtle step in making pav but an important one to get that signature soft texture of pav.
Baking the Pav
Preheat the oven to 180–200°C (350–390°F) and bake the pav for 15–20 minutes or until the tops are lightly golden. You can also brush the tops of pav with melted butter for that extra shine and softness. Baking will provide soft and tender interior and a slightly crisp, golden crust to the pav. It is important to keep an eye on the temperature of the oven and baking time as over-baking will result in dry pav and under-baking will result in doughy bread. The baked pav should be soft, fluffy, and lightly golden.
Cooling and Storing
Allow the pav to cool on a wire rack. Cooling is recommended as the pav can be soggy if kept covered as steam from the hot pav condenses. If you are not planning to serve pav immediately, store it in an airtight container at room temperature for 1–2 days or freeze for longer storage. Proper storage ensures that the pav stays soft and fresh and is ready to be toasted or served with bhaji. Pav should not be refrigerated as refrigeration can dry the pav.
Toasting Pav for Pav Bhaji
Traditionally, pav for Pav Bhaji is toasted on a griddle with butter. Toasting the pav adds flavor and a slight crispness to pav and also warms up the pav which is perfect for scooping bhaji. Pav should be coated with butter not just for the richness it adds but also to prevent the pav from sticking to the pan. Toasted pav should be soft inside and golden with a slightly crispy exterior. Toasting transforms the homemade pav to restaurant-style pav that complements bhaji perfectly.
Variations and Tips for Perfect Pav
Pav is very versatile and can be flavored and customized as per your choice. You can brush garlic butter to add aroma to the pav or add milk to the dough for richer crumb or top the pav with sesame seeds for a nice crunch. For a healthier pav, you can use a part of whole wheat flour in place of maida. Tips for perfect pav include using fresh yeast, kneading well, adequate proofing, and baking at a consistent temperature. Master these tricks and you have the perfect pav for your Pav Bhaji.
Conclusion
Making pav for Pav Bhaji at home is an art where a simple bread roll is transformed into a soft, aromatic, and flavorful piece that goes so well with spicy bhaji. By using the right ingredients and focusing on yeast fermentation, kneading, shaping, proofing, and baking the pav, you can have pav with a tender crumb and golden, buttery crust. Toasting the pav with butter before serving adds that extra flavor and a perfect balance of crisp and soft that you get in pav for Pav Bhaji. Homemade pav not only elevates your Pav Bhaji experience but also allows you to control the freshness, texture, and taste of pav and enjoy restaurant-style indulgence at home. With a little practice and some attention to the details, every bite of Pav Bhaji with your homemade pav is a celebration of taste and tradition.
 How to Make the Most of Your Holiday Break
 The Best Winter Destinations for a Cozy Getaway
 How to Organize Your Holiday Travel Plans with Ease
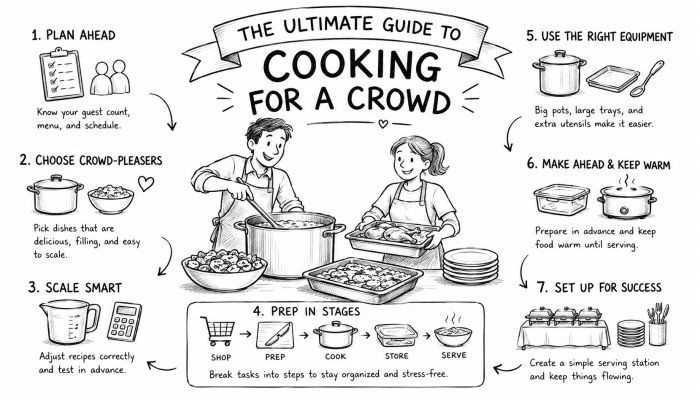 The Ultimate Guide to Cooking for a Crowd
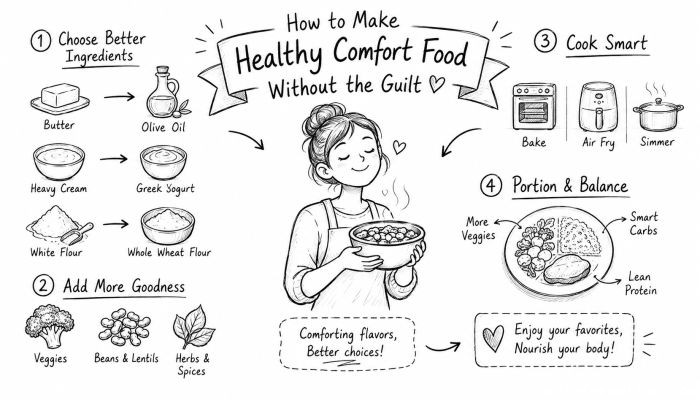 How to Make Healthy Comfort Food Without the Guilt
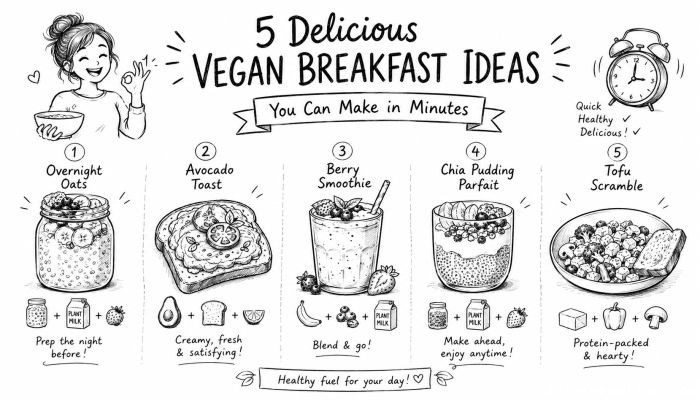 5 Delicious Vegan Breakfast Ideas You Can Make in Minutes